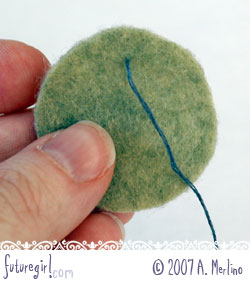
 | (1) Insert your needle from the back of the piece so it comes out the front. |
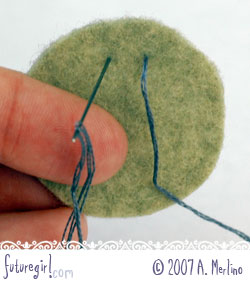 | (2) Insert the needle to the left of where the floss is coming out of the front piece. |
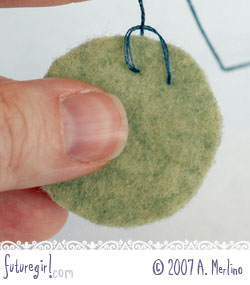 | (3) Pull the floss through most of the way, then put your needle through the loop from the back to the front. Pull the first stitch so it is a little loose. You will need the loose floss to complete the last stitch. If you are stitching around a circle, make this stitch VERY loose. You will need lots of extra floss to complete the last stitch. |
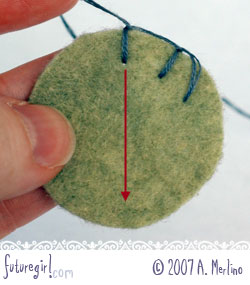 | (4) You will make your stitches following step 4 and 5 above. When stitching around a circle keep your stitches straight by holding the circle so your stitch is at the top and imagining your stitch continues down the circle through the center. The red arrow is your imagination. |
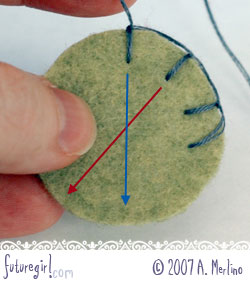 | (5) Here is the next stitch and it's blue imaginary arrow. See how the red and blue arrows cross in the center of the circle? All of your stitches should point toward the middle. |
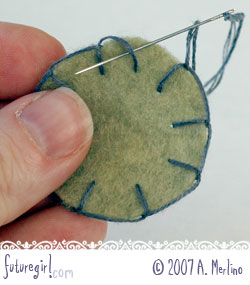 | (6) Complete the edging by putting your needle under the vertical bar of the first stitch. |
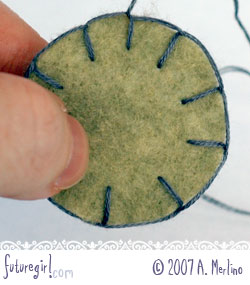 | (7) Pull tight. |
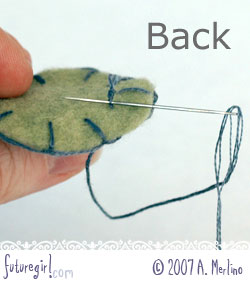 | (8) On the back, put your needle through the initial knot. |
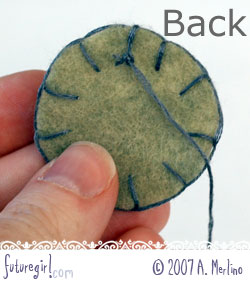 | (9) Make your final knot. |
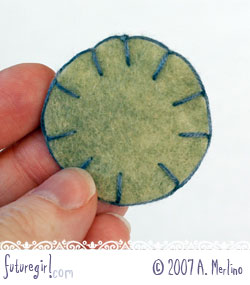 | (10) You're done |
Try it ♥ Good Luck !
No comments:
Post a Comment